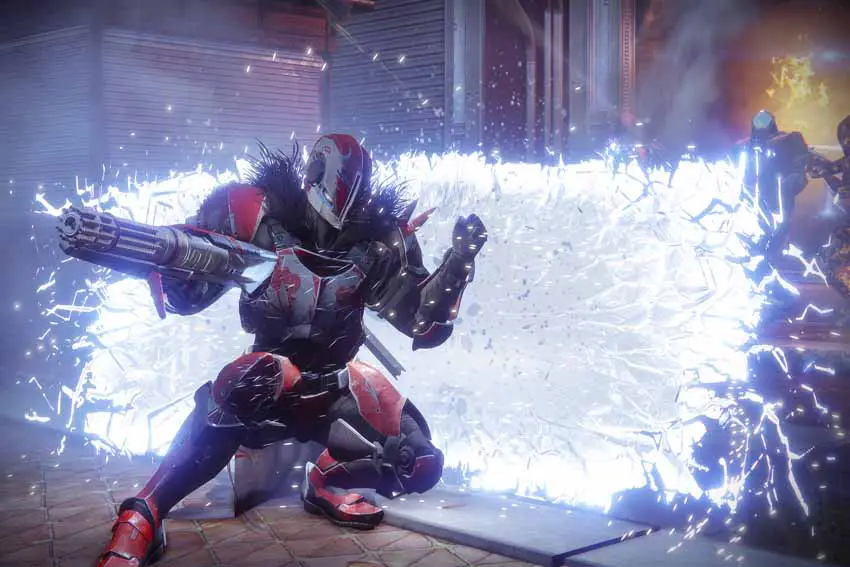
Some players keep getting the CABBAGE crash error due to a mismatch between Destiny 2 and the Internet connection. There are a couple of solutions to resolve the "Error Code CABBAGE" issue on the Steam version of Destiny 2. In the meantime, it could work on the error code Lettuce.
How to Fix Destiny 2 CABBAGE Error
Method #1
There are those who solve this problem using a different modem/router. So if you have another modem, you can use it for a test. Maybe you can get a friend's modem to test it.
Method #2
On your modem/router, you should disable the Security/Firewall.
- Access the control panel of your modem/router. Type the IP address of the modem in the address bar of the Internet browser and press Enter. The default username and password are usually "admin".
Possible IP Addresses
192.168.1.1
192.168.1.0
192.168.0.1 - Find the Security/Firewall tab on your modem.
- Disable the security
- Restart your modem.
- After that, try to run Destiny 2.
Method #3
On your modem/router, enable the UPnP feature.
- Access the control panel of your modem/router.
- Find the UPnP tab on your router, usually located under the “LAN” or “Firewall”. On my router's menu (TP-LINK Archer VR600), it is under the "NAT Forwarding" tab.

- Enable the UPnP
- Restart your router/modem.
- Launch the Destiny 2. If you still facing the same issue, try the next method.
Method #4
The names of the menus or features may be different on your modem. Nevertheless, it will be similar to each other, so it helps you to have an idea.
- After enabling the UPnP, go to the "Virtual Servers" menu that under the "NAT Forwarding" tab.
- Go to the "Virtual Servers"
- Add a Virtual Server
- Type, Destiny 2 to "Service Name"
- Type 3097 to "External Port". If your router/modem doesn't support the UPnP feature, type 59936

- Type your computer IP to "Internal IP". You can find it on your modem or Windows Network Info.
Navigate to Windows Settings > Network & Internet > Status > View Your Network Properties > Your computer IP is the IPv4 address

More info about Ports and Port Forwarding
- Type 3097 to "Internal Port"
- Select the UDP from the Protocol list.
- Click on the OK button to save.
- Restart your modem.
- After that, try to run Destiny 2.
Method #5
Create a PPPoE Dial-Up Connection. This method works only on LAN connection.
Windows 10
- Exit the Steam
- Click on the Windows Start logo
- Go to the Settings
- Click on the Network & Internet
- Go to the "Dial-up" tab.
- Click on the Set up a new connection
- Select "Connect to the Internet" and click on the Next button.
- Click on the "Set up a new connection anyway"
- Click on the "Broadband (PPPoE)"
- Type the information from your Internet service provider (ISP)
- Tick the "Remember this password".
- Also, make sure to check the "Allow other people to use this connection"
- Click on the Connect button.
Windows 7
- Exit the Steam
- Click on the Windows Start logo
- Go to the Control Panel
- Go to the Network and Sharing Center
- Click on the "Set up a new connection or network"
- Go to the "Set Up a Connection or Network wizard"
- Select "Connect to the Internet" and click on the Next button.
- Click on the "Set up a new connection anyway"
- Click on the "Broadband (PPPoE)"
- Type the information from your Internet service provider (ISP)
- Tick the "Remember this password".
- Click on the Connect button.
Finally, launch Steam and play Destiny 2.
In Conclusion
While the Cabbage error code in Destiny 2 is often the result of issues on the player's end, there are cases where the game's servers can be responsible. If players have already attempted the troubleshooting steps outlined in the "How to Fix Error Code CABBAGE in Destiny 2" guide without success, it may be worth checking the Bungie Help Twitter account to see if there are any known server-related issues.
If there is a widespread problem, Bungie will likely provide updates and ETA for when it will be fixed. It's also worth noting that server issues can sometimes be temporary and resolved on their own, so players may want to try logging in again after some time has passed.
I hope this guide helped you. If the problem still exists do let me know in the comments below.
In addition to fixing the cabbage error in Destiny 2, it's important for players to address any other technical issues they may be experiencing. One common problem is the game crashing or failing to launch altogether. For those looking for a solution, there are several steps that can be taken. For more detailed instructions and additional troubleshooting tips, you can visit this helpful guide on fixing Destiny 2 crashing and launch issues.

